
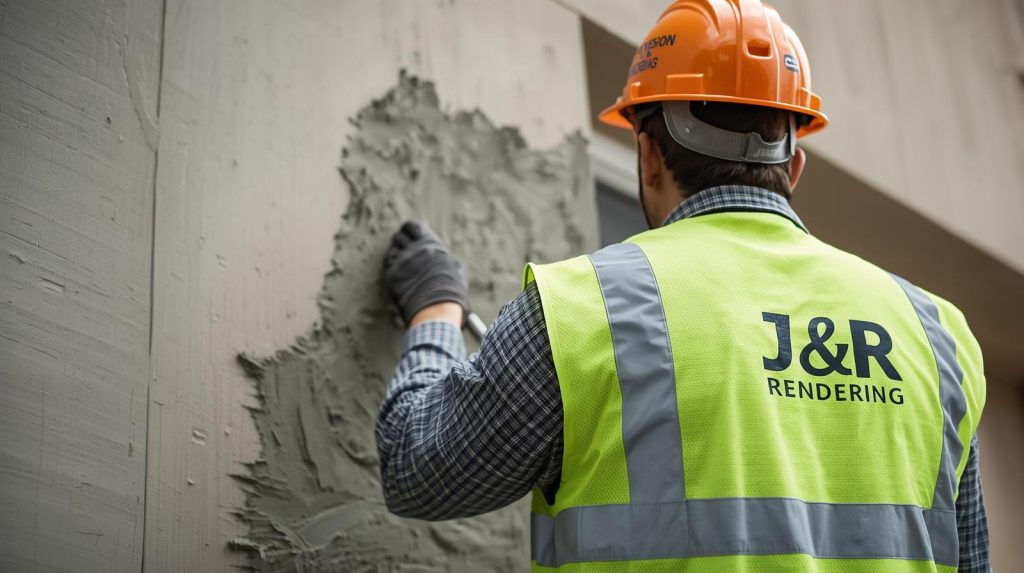
The Boring Bit That Makes Render Last: How a Renderer Preps Your Exterior Wall
Nobody posts a photo of a freshly pressure-washed wall with a caption like “Absolute scenes, mate.” The pretty part of a job is the smooth, crisp finish at the end.
But after plenty of years on the tools, we’ll tell you straight: the finish is only as good as the wall underneath it. Render slapped over a dusty, damp, flaky wall is a bit like putting a nice hat on a bloke who hasn’t showered. It looks fine for a week.
At J & R Rendering, prep is where most of our time goes on a job. It’s also the reason our work doesn’t crack, blister or fall off the wall a couple of summers later. Here’s what a proper renderer actually does to an exterior wall before any mud goes on.
Why Prep Decides Whether Your Render Lasts
Render doesn’t just sit on a wall. It bonds to it, mechanically and chemically. If that bond is weak, you’ll see it sooner or later as:
- Hairline cracks that spread like they’ve got somewhere to be
- Hollow, “drummy” patches that sound wrong when you knock on them
- Blistering, flaking or peeling, especially on acrylic rendering
- Stains and white salty marks coming through the finish
- Whole sections popping off after a few big Sydney storms
Almost none of those are “bad render” problems. They’re prep problems. That’s why plenty of the jobs that come to us for cement render repairs in Sydney trace back to a rushed first job where somebody skipped the boring bit.
Step 1: The Walk-Around (Before Anyone Opens a Bag of Cement)
Before quoting or starting, a good renderer reads the wall. We walk the whole exterior and look at:
- What the wall is made of. Clay brick, besser block, poured concrete, AAC panels, old render, painted surfaces and fibro all need different treatment.
- Where the water comes from. Blocked gutters, leaking downpipes, garden beds piled up against the wall and sprinklers pointed at the brickwork cause more render trouble than most people expect.
- Existing damage. Cracks (and whether they’re moving), crumbling mortar, rusty steel and old patch jobs.
- The details. Window reveals sills, eaves, meter boxes, downpipes and light fittings. These decide how the job is staged and how clean the final lines look.
This is also when we flag anything that needs a different plan. Older homes can have lead-based paint layers, and fibro cladding from certain eras needs to be identified and handled properly before anyone sands, scrapes or blasts it. That’s not the stuff you want to find out halfway through a job. If you’re unsure what’s on your walls, tell us when you get in touch and we’ll sort it out first.
Step 2: The Tap Test (Yes, We Really Do Knock on Your Walls)
If your wall already has render on it, we go over it with a hammer handle or trowel and tap. A solid wall gives a dull, firm sound. A hollow, rattly one means the old render has let go of the wall and is just hanging around.
Hollow patches get marked and removed back to a sound edge. Why? Because new render over loose old render doesn’t fix anything. It just adds weight to something already letting go, and the whole lot comes off together.
Sometimes the tap test shows a couple of small bad spots. Sometimes it shows the whole wall is cooked. Either answer is useful, because it tells us whether you need patching, a partial strip or a full redo.
Step 3: Cleaning, Because Render Hates Dirt
Render needs a clean, stable surface to grip. A proper clean usually covers:
Pressure washing. This knocks off dust, loose paint, cobwebs, chalky residue, and the grime Sydney’s traffic and weather leave behind. It needs control, though. Blast too hard and you damage soft bricks or open up mortar joints, so pressure and distance matter.
Mould and algae treatment. Shady southern walls and spots near gardens grow green and black stuff like it’s a hobby. If it’s painted over or rendered over, it comes straight back through. We treat it and let it do its job before moving on.
Old paint and coatings. Flaking paint has to go. Sound paint may need to be keyed or primed so the new coat can grip. Rendering straight over a glossy, unprepared painted surface is how you end up with peeling.
Efflorescence (the white powdery stuff). Those salt deposits mean moisture is moving through the wall. We brush them off, but the real job is working out why the moisture is there. If we don’t deal with the cause, the salts come back and push through the new finish.
Then we let the wall dry. This is the step people try to rush on a Friday afternoon. A damp wall is a bad wall to render, and Sydney humidity doesn’t make it easy.
Step 4: Repairing the Wall Before It Gets Covered
This is where the real craftsmanship sits. Render hides a lot, but it doesn’t fix a lot.
Cracks. Not all cracks are equal. Hairline shrinkage cracks are cosmetic and get cut out and filled properly. Wider or stepped cracks can point to movement in the footings or structure, and those need a proper look before anything gets covered up. Hiding a moving crack under fresh render is a short-term fix with a long-term bill.
Mortar joints. Crumbling joints get raked out and repointed. Deep, clean joints actually help render key into brickwork, but loose sandy mortar doesn’t.
Spalling and damaged brick. Blown or flaking brick faces get repaired or built up so the render has something solid to hold.
Rusting steel. Exposed lintels or reinforcing steel that’s rusting expands and cracks everything around it. It gets cleaned back, treated and sealed before it’s covered.
Old patches. Dodgy previous repairs get redone so we’re not building on top of someone else’s shortcuts.
If your wall is already showing hollow render, cracking or lifting, our cement render repairs service is usually step one, and then we move on to the main render.
Step 5: Getting the Surface Ready to Grip (Brick, Block, Concrete and Beyond)
Different surfaces behave differently, so there’s no single recipe.
Clay brick. Brick is porous and thirsty. If it sucks water out of the render too fast, the mix can’t cure properly. We dampen the wall, and on some jobs apply a bonding coat so the render attaches evenly.
Concrete block and poured concrete. Dense, smooth concrete is slippery to render. It usually needs a bonding agent or a scratched, keyed surface so the render has something to bite.
Lightweight panels and mixed substrates. Where different materials meet (say brick joining block, or a patch of new masonry beside old), we use mesh across the joins so the render doesn’t crack along the seam. Different materials expand and shrink at different rates, and the join is where it shows up first.
Previously painted walls. Depending on the paint, we either remove it or prepare it with a suitable primer or bonding system.
This is also why the materials matter. If you’re curious what goes on your walls, have a look at the products we use. We’re not shy about it.
Step 6: Masking, Protection and Setting Out
This is the tidy part, and it’s the bit that separates a clean job from a chaotic one.
- Protecting windows, doors, roofs, decks, gardens and driveways. Wet render gets everywhere, and your Hills Hoist deserves better.
- Setting up safe access. Scaffolding or proper platforms mean a continuous, even finish with no awkward stops and starts in the middle of a wall.
- Fitting beads and stops. Corner beads, stop beads and control joints give crisp edges, and they let the render move in the right places instead of cracking where it likes.
- Setting levels and lines. Screeds and guides keep the wall flat and straight. Without them, you can see every wobble when the afternoon sun hits.
None of it looks impressive, but you’d notice it straight away if it were missing.
Step 7: Timing and Weather (Sydney Doesn’t Play Fair)
Render cures, it doesn’t just “dry.” If it dries too fast in hot sun and wind, it can crack and go dusty. If it gets belted by rain before it’s ready, it can wash out and stain.
So we plan around the weather: working shaded sides at the right time of day, dampening and covering where needed, and rescheduling when a southerly or a storm cell is on the way. Customers sometimes wonder why we shuffled a day. That’s why.
How Prep Changes Depending on the Finish You Choose
The foundations stay the same, but each finish has its own demands.
- Cement rendering: The classic. It’s all about the base. Good keying, dampening, even thickness and proper curing are what keep it from cracking and hollowing.
- Acrylic rendering: It’s a thin, flexible finish, so it shows everything underneath. The substrate has to be flat, dry, sound and properly primed. Any lumps and bumps in the base will still be there on the other side.
- Texture rendering: Textured coatings are more forgiving of small surface variation, but they still need a stable, clean, well-prepared base so the texture sets evenly.
- Granosite rendering: This premium textured finish needs a sound, even substrate and the right system underneath. Good prep is what lets the finish look as good in five years as it did on day one.
If you’re still deciding which finish suits your place, our team can walk you through it. Or have a browse on the J & R Rendering homepage to see the full range of exterior wall rendering in Sydney.
Red Flags: How to Spot a Rushed Prep Job
When you’re getting quotes for house rendering in Sydney, watch out for a renderer who:
- Doesn’t inspect the walls properly before quoting
- Says “we’ll just render over it” without talking about cracks, damp or old paint
- Skips the wash and goes straight to mixing
- Can’t explain what bonding or priming system they use
- Quotes way under everyone else (the missing money usually comes out of the prep)
- Rushes the job in bad weather to hit a deadline
A cheap quote that skips the prep isn’t a bargain. It’s a deposit on the next repair job.
FAQs about Preparing Walls for Rendering
Can you render over painted brick?
Sometimes, yes, but it depends on the paint. Sound, well-bonded paint can be prepared with a suitable bonding system. Flaking or glossy paint should be removed. We check the wall first, because skipping this is a common cause of peeling later.
Do you have to remove old render before re-rendering?
Not always. If the old render is solid, well-bonded and in good shape, it can be repaired and built on. If the tap test shows large hollow areas or widespread cracking, it’s usually better to strip it back to a sound surface.
What does a bonding agent actually do?
It helps render grip smooth, dense or very absorbent surfaces. On slick concrete it adds “tooth.” On thirsty brick it can help control how fast water is pulled out of the mix. It isn’t a magic fix for a damp or dirty wall, though.
How long should a wall dry before rendering?
There’s no single number, because it depends on the substrate, shade, humidity and what’s behind the wall. Rather than going by the calendar, we check that the wall is stable and appropriately damp or dry for the product we’re applying.
Will the prep add much to the cost?
It’s a real part of the job, but it’s the cheapest insurance you’ll buy. Skipping prep saves a bit upfront and costs much more when render cracks, lifts or needs redoing.
Can small cracks be fixed before render goes on, or will they come back?
Hairline shrinkage cracks can be properly cut out and filled before rendering. If a crack is wide, stepped or keeps opening, there may be movement in the structure, and that needs to be understood first. Otherwise it can reappear through the new finish.
The Short Version
A great render job is built in three parts: prep, application and curing. Most people only see the middle one. Prep is the part nobody photographs, but it’s what keeps your walls looking good through Sydney’s heat, humidity and the odd biblical downpour.
If you want your exterior wall prepared properly and rendered once, not twice, have a chat with the team at J & R Rendering. Read more helpful guides on our blog, or contact us for a free quote and we’ll come have a proper look at your walls.